Top 3 favourites DIY cosmetics you’ll want to make
Making your own DIY cosmetics is simply fun!

Making your own DIY cosmetics is simply fun!

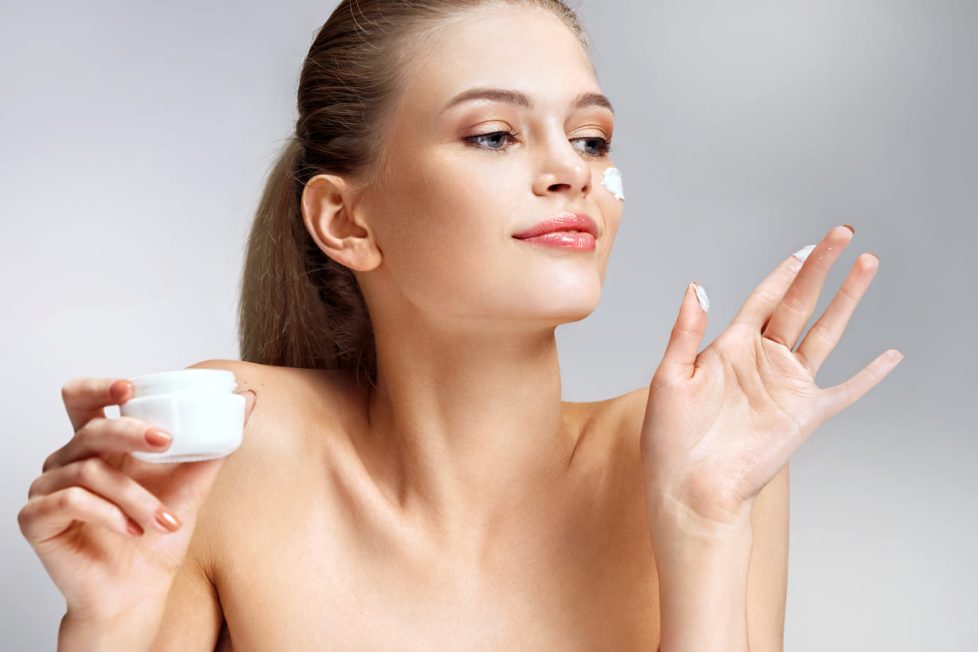
Natural, DIY cosmetics are becoming trendy due to being able to decide what is contained in each product and where the raw materials are sourced from.
The DIY cosmetics trend made its breakthrough a few years ago, however, it has only recently gained momentum. More and more we are mixing our own concoctions such as scrubs, deodorants and creams.
But why are we leaning toward creating our own DIY cosmetics? This has a lot to do with living in the digital age. Being stuck in front of our computers on the daily has left us yearning for the feeling of having made something with our own bare hands and being part of producing something unique while letting our creativity run wild.
Another factor to take into consideration is that the importance of quality and sustainability when it comes to consumption has increased significantly. Today, we are able to make our own skincare, body care and hair care DIY cosmetics in the comfort of our own home. This brings many benefits along with it, but one also needs to exercise caution.
DIY cosmetics is often more affordable: as soon as one has attained the basic components, homemade cosmetics turns out to be less expensive than what can be bought at your drugstore. Because we are reusing jars and containers, waste is reduced, which is always beneficial to our environment.
Hygiene must be the top priority when making DIY cosmetics. Use clean tools and utensils to ensure that the final product is not contaminated in any way. Natural, homemade cosmetics are free from artificial as well as natural preserving agents, which means that it is essential to have a clean working area to avoid any irritations from occurring.
DIY cosmetics only uses fresh ingredients which restricts the shelf life. It is best to keep in mind the ingredient that is most likely to go off the quickest. Be aware of which ingredients your skin tolerates and which you may be allergic to avoid any skin irritations.

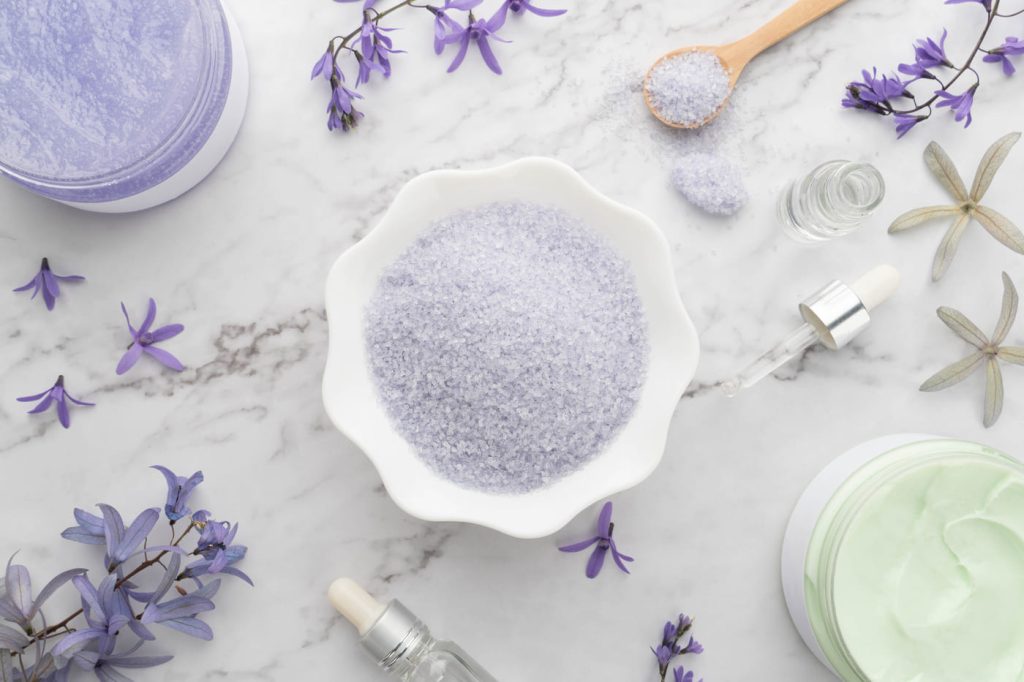
What better way to pamper yourself, than with a luxurious sea salt body scrub. This not only will exfoliate, but also provide a rich moisturizer for your skin. Let’s talk about exfoliating your skin with a good salt scrub. We suggest you too use sea salt, since you can purchase it at the store. It is super cheap and a great natural spa ingredient!
Sea salt is great for baths and the skin, since it acts as a water softener and gently exfoliates the skin . It is one of the most common ingredients in high end spa treatments. Sea salt naturally detoxifies the skin, since it absorbs toxins on your skin. Since sea salt is processed differently than table salt, it retains some additional minerals rather than regular table salt.
Mix the salt thoroughly with 2 tablespoons olive oil and lemon essential oil, so the lemon juice won’t dissolve the salt. Add sea salt and mix all the ingredients together. Gently massage into the skin, while taking a shower to exfoliate the skin. This will also soften and moisturize your skin. Rinse off the scrub in a warm shower for smooth, silky skin for a fraction of the cost. Increase amounts to create a larger batches of this scrub.
Facial scrubs and mask are always popular. One of the recipes of DIY cosmetics that we particullry like is based on honey and we loved the idea – mainly because it is easy to find the ingredients in every cupboard. Plus, all the ingredients are natural and have demonstrated benefits – after, it’s said that Cleopatra bathed in milk and honey. Honey has been used for centuries for a variety of medicinal uses and it’s thought to have antibacterial properties and moisturizing effects. Here is our fvorite recipe:
Mix together about a cup of honey, 1 tablespoon of cinnamon and 1/2 tablespoon of nutmeg. Stir until the spices are incorporated into the honey. For thicker mask, use less honey. Pour into clean and sterilized bottles.
If you love the feel of having silky soft skin that looks and smells great, then you will love whipped body butter. Making your own at home allows you to take charge of the ingredients, and tailor them to your personal tastes and needs. To make any whipped body butter you will need 4 key elements: Natural butter, natural carrier oil, essential oil, thickening starch. Here are our directions:
Melt the natural butter in a double boiler, stirring continuously until melted and silky. Allow the liquid to thicken as it cools to room temperature. Once cooled, whip the butter until it is light, creamy, and fluffy. Add essential oils to your carrier oils, be carefull, add the oils gradually to avoid the mixture splitting and to ensure it does not become too wet. Whip continuously until the body butter stands in soft peaks.
