Halloween Mani: 5 good ideas
One of the most fun holidays to theme your Halloween Mani is around.

One of the most fun holidays to theme your Halloween Mani is around.

October 31st is around the corner and we all know what that means. It’s getting spooky out here!
As well as trawling the internet for sinfully sick decorations and an outfit that’s the perfect amount of scary vs sexy, we also – most importantly – need our makeup and Halloween Mani to look the part. Makeup is a whole different ballgame, one which requires time, patience and relative skill, but, if you’re going to put a tonne of effort into your face, you’ve kinda got to give the same amount of attention to your Halloween manicure, too.
So, when you’re sorting out your Halloween look, don’t forget about your nails. Giving your fingernails the ultimate Halloween treatment will add more life to your outfit, ensure that you stand out from the rest of the costumed crowd and show off just how frighteningly creative you are.
Looking for some creepy and kooky Halloween nail art inspiration? We’ve got you covered. This list has something for everyone and every costume and some ideas so ghoulish that they would make Morticia Addams jealous.
There’s much more you can do with your nails for Halloween than paint them orange and black. From subtle-metallic colors that bring the spooky holiday spirit, to adorable nail ghosts, to detailed and scary spiderweb art, this collection of Halloween nails will get you so inspired that you may even feel the need to try a few different styles throughout the season.
Are you ready to give your hands a Halloween-chic look this year? Check out all the best Halloween manicure we could find, crafted by our favorite artists, bloggers and nail polish brands — including bloody nails, skull nails, black nails, cobweb nails (perfect for your witch costume), twists on French manicures and so much more.

Black is one of the primary spooky colors of Halloween, and you have many options on what to do with it — from dip nails with intricate Halloween details to solid color Halloween mani.
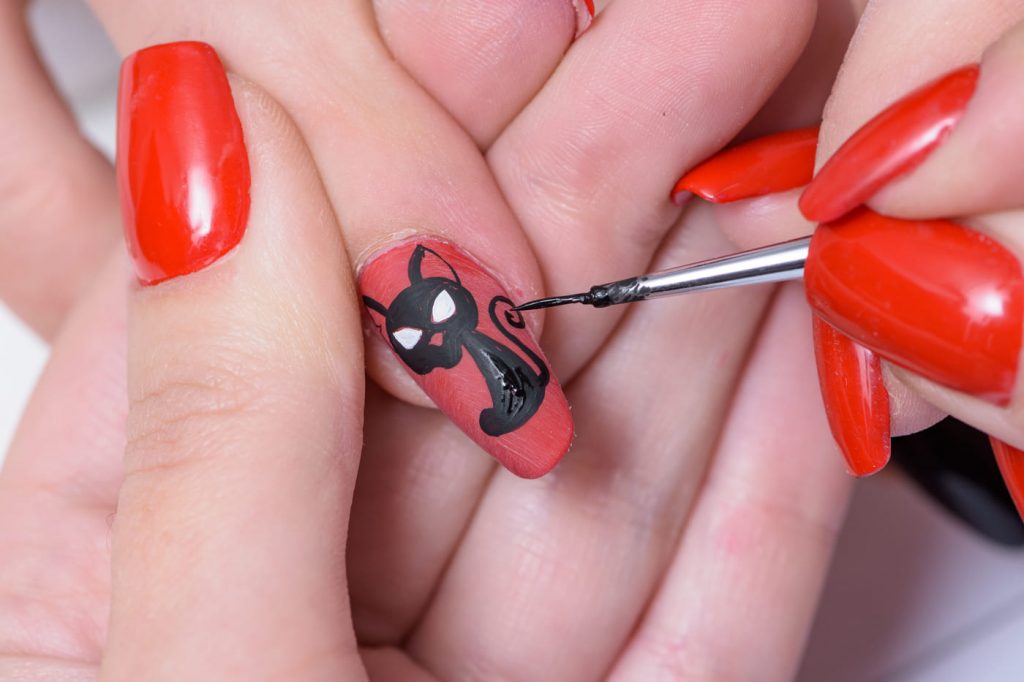
Feeling feline this Halloween? First on the list is a very catty dip nail design. Whether or not you have a leather bodysuit to pair it with, it will surely help you channel your inner Catwoman. Meow!
If you are more Morticia Adams than Catwoman, opt for solid color black Halloween acrylic nails.
If you like the look of bloody Halloween nails, but maybe with a little less blood — Count Dracula to the rescue! Mimic vampire teeth by giving your index finger and pinky finger the stiletto nail shape and applying a red nail powder. The detail on this Halloween manicure is perfection!
Take a break from your classic white for a freaky surprise instead. Opt for a french manicure, but make it spooky. This unique play on the classic french manicure uses faux blood drips over the nude base to create a Halloween-esque french tip. You can use a dotting tool or a striping brush to create uneven lines and achieve the dripping effect.
For something a bit less intense than the traditional bright red blood-drip nails, go for this black version instead. You can liven up the look with an accent nail (or two!) or just repeat the design on all nails. I added a bit of red to mine to create some contrast!
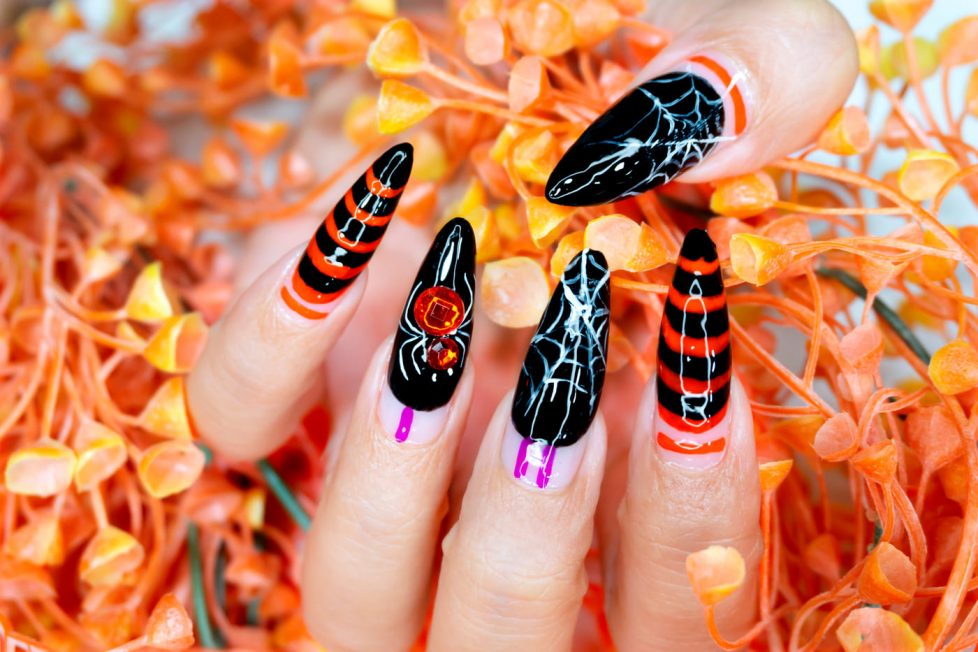
While the thought of a spider crawling on your skin might be your worst nightmare, sporting the creature on your nails is just spooky enough. Use the dotting tool to create the body of the spider and a thin brush to create eight legs. Speaking of spiders, you can also weave a web on your nails with this negative space design. Use a brush to create five diagonal lines before connecting them with small, curved dashes.
Also for French tip fans, the spider web design is an excellent Halloween mani option. Just apply a sheer layer of black polish at the tip, then go in with a more opaque black to create the web pattern. We love how it has a sort of lace look to it, you might even be able to get away with this outside of Halloween too!
Want a bold look but drawing is out of the question? Bedazzle your nails with a few jewels. Apply a base coat of your choice before dotting nail glue where you want to place your gem. Make the dots of glue smaller than the size of each gem to avoid messing up your design. Then, use tweezers to place the jewels onto your nails and press down gently before moving on to the next finger.
